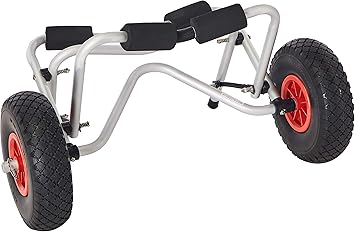
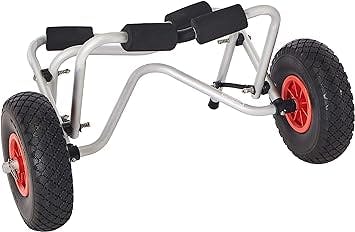
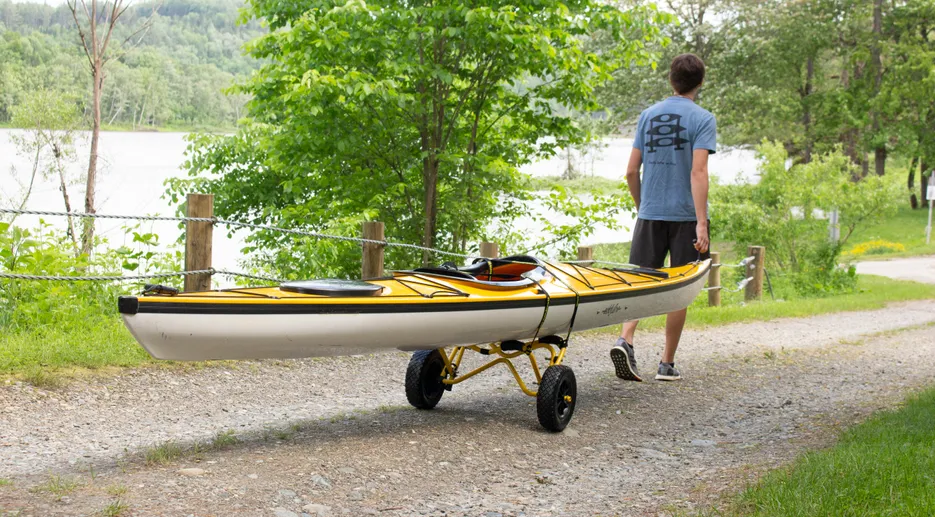
Board and Kayak
Get A Fishing License
*Disclaimer: Board and Kayak earns a commission from qualifying purchases.

Cheap DIY Kayak Dolly Cart That Will Last Forever [2024]

Cheap DIY Kayak Dolly That Will Last Forever

Cheap DIY Kayak Dolly That Will Last Forever

Updated on 3/26/2024
Abigail ScottBy Abigail Scott
Hi, I'm Abigail đź‘‹ Since embarking on my kayaking and boarding adventures in 2010, I've navigated rivers and lakes across North America and beyond. With over a decade of experience and countless waterways explored, I'm here to help enthusiasts like you embark on unforgettable water adventures!
Learn More about Abigail Scott

You can transport that enormous kayak with the assistance of a set of wheels that are smooth and heavy-duty, and you can make them yourself in about an hour's work. You may save your back and roughly thirty bucks by constructing your DIY kayak dolly cart, saving you from carrying your kayak. You can do this by following the instructions found online.

After the second set of kayak wheels for my 10-foot, sit-on-top kayak became worn out and needed to be replaced; I started looking for something to make myself robust enough to endure regular use. The post we found on PalmettoKayakFishing.com is included below, as are some instructions for using the website.

step

step

After a quick trip to the local Lowe's and Harbor Freight and a half-hour spent on the miter saw, I obtained all of the essential components in a manner that made it convenient for the assembly process to follow. It is guaranteed to last a very long time since two substantial bolts and some PVC glue fasten it together, making it quite durable. If you carry out the activity following the directions to the letter, it will take you significantly less than an hour to do it. That is not an overstatement of the situation.

To safely secure my kayak to the wheels, I use a strap that I first wrap around the wheels' central axle and then pass through the holes in the rear scuppers. That creates a secure connection. Because of this, you may rest assured that the wheels won't move in any direction. They have not moved at any time, not even down the rocky route that is almost a half-mile long and runs to the lake near my house.

When we are on our way to the lake and pass other people pulling the same wheels that I used up, many people stop to question me about my homemade version of the wheels. A gratifying sense of success is bestowed upon me whenever I am reminded that I labored hard to bring these creations into being on my own.

cart

cart

You may learn how to make one by following the methods given on the Palmetto Kayak Fishing website, which can be accessed by following the link below. Palmetto Kayak Fishing is located in Palmetto, South Carolina. Paul Davis, the owner of the kayak fisherman and an experienced do-it-yourselfer, is responsible for creating several intriguing accessories, including racks, fishing boxes, and numerous other exciting additions. You should read this post if you get a kick out of accomplishing things independently, mainly if the result is more significant in quality and longevity than currently available.

Instructions For Building A Bulletproof Kayak Cart With Pictures

Here is a concise overview of the directions, but check out his website for photographs that will guide you through the process step by step.

Things that you will require:

You can find all these things at Lowe's or Home Depot.

  • A segment of 5/8-inch threaded rod measuring 3 feet in length and costing around $4 – NOTE: it will be shortened to 25.5."
  • Ten feet of Schedule 40 PVC pipe with a one-inch diameter (about $3).
    PVC Glue (~$3 – item "K")
  • 7 PVC Tee fittings measuring 1 inch each (total cost of around $3.50; item "H")
  • 3 PVC Caps measuring 1 inch each (total cost of about $1.20; item "I")
  • The 5/8-inch "Create-A-Bolt" stainless steel nuts, washers, and lock washers package may be purchased at Home Depot as item "J" for around $3.80.
cart

cart

You can find these things at a Walmart near you if you go there:

  • JUMBO pool noodle (~$3.88 – item "L")

You should be able to locate the following items at your neighborhood Harbor Freight (or on Amazon if you can't find them in the store):

  • Two pneumatic wheels and tires measuring 10 inches in diameter (less than ten dollars total - Items "M")

The total price is less than $33

Step One

It involves cutting the 10-foot stretch of 1-inch PVC into the following lengths: The piece of PVC denoted with a "C" in the above image should be the LAST one you cut. After you have completed the process of putting the lower assembly together, check the measurement to ensure that "C" has the appropriate length.

(B) – 18"

(C) – 10.5"

(D) – cut four 8" pieces

(E) – cut two 4.5" pieces

(F) – cut two 1¾" pieces

(G) – cut four 3" pieces

Step Two

Drill a hole measuring 5/8 inches through two of the end caps made of PVC.

Put the pieces of the bottom unit together by their respective parts: (I) (F) (H) (E) (H) (E) (H) (F) (I). Because the threaded rod keeps the entire system together, there is no need to apply any adhesive in this situation.

Step Three

They slid the threaded rod through the lower portion to pass through it. Please verify that the lock washer and the nuts are firmly attached to their respective locations. Before moving on, you need to ensure that the nuts on the exterior of the wheels are correctly secured and install the wheels. 

Step Three

Step Three

The length of the rod has been shortened to 25.5 inches; nevertheless, you will need to consider the measurements of your kayak to determine whether or not this will be appropriate for you. Before the inner nuts and lock washers suitably tighten, the PVC will remain in its original position.

Step Four

After you have finished assembling the lower unit in Step 2, go to the next step and insert two G-pieces into the outer H-pieces of the lower unit assembly. That concludes Step 4. Attach two (H) pieces to the end of the (C) piece, and then attach those same two (H) pieces to the (G) articles that you just linked to the bottom unit. That will complete the assembly of the base unit. You are going to apply glue to each of the attachments at this point.

Step Five

In the fifth stage, you will assemble the components that make up the top support, and then you will glue those components together. These will give you enough room for the pool noodles you now have. (D) (H) (D), with (G) linking to (H) in this particular instance as well. Proceed with this step a further two times. Insert each component (G) into the sections (H) that were leftover from the previous phase in a perpendicular manner.

Step Six

The sixth stage involves attaching adhesive to the end cap to the handle piece. First, you must drill holes into each of the four ends of the supports before you can slip on the pool noodles that have been cut to fit over the supports.

step 6

step 6

The pool noodle should be dropped over the supports first, and then who should tie the rope or paracord around the end of the pool noodle? During loading and unloading, it is an essential step that will assist in guaranteeing consistency to ensure that both supports are oriented in the same direction.

So, this takes us to the end of the discussion. Review all of the DIY Kayak dolly Cart - Build Instructions + Pics on his website, and then let us know how well it works for you by reporting to us.